This summer couldn’t be wasted. Not a second of it. Fresh out of a (very) long year of university, I knew I had to make my moments on the water count. So, I did.
It took me over six weeks, but I took an old tin boat that resembled a piece of Swiss cheese and turned it into a functional fishing boat — a DIY boat project. How? It all started at Christmas earlier that year.
Any Canadian knows that the winter withdrawal from boating is . . . long. Being a full-time student, part-time worker, and all-the-time DIY-er, I was craving a project I could throw some time into this upcoming summer. Something that would push me to learn encourage me to have fun, and get me back into the spirit of boating in Canada!
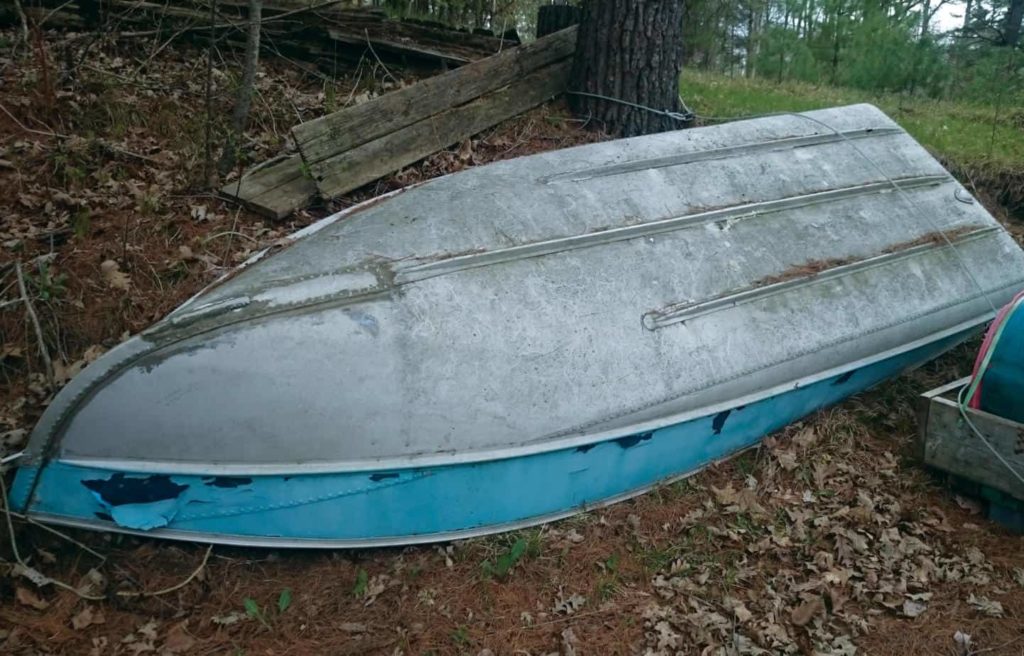
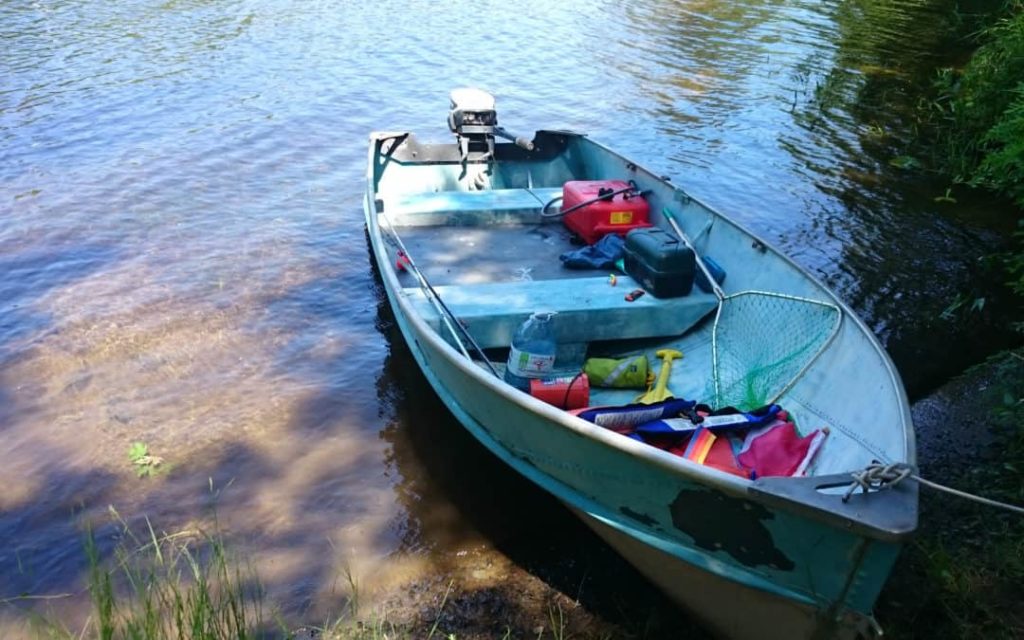
The 40-year-old tin boat sitting upside down on a hill at my cottage was top-of-mind. Here’s the story!
Claiming the Old Tin Boat
After some asking around during the winter months, I was cleared to take the ‘tinner’ and old outboard motor and fix it up! Fast forward to May, and it was finally time to start the DIY boat project I’d been waiting to dive into all winter.
There were so many steps that I started by writing a list of “to-do’s” that included inspecting the boat, identifying any fixes needed, fixing the 9.9 hp outboard motor, buying my boating safety gear . . . and the list went on, adding up the dollars and cents.
I had so many questions, like:
- How would I patch up the holes in my old tin boat?
- Who can fix my old 9.9 hp outboard motor?
- What boat safety gear did I need? Where would I get it?
- Where do I get my Ontario boating license?
- Do I need boat insurance?
- How do I launch my boat?
- What kind of life jacket do I need?
- Do I need a Pleasure Craft License?
- What are the alcohol and boating rules in Canada?
- What happens if I get caught in a storm?
And . . . what kind of snacks were good for a boat renovation project? All this thinking was making me hungry.
But the most sensible thing was for me to get started and figure it out along the way. After all, how hard could a DIY boat project be, right?
NOTE: It wasn’t easy! I should have done more research beforehand — but now, you have this article to help you figure out everything you need to know to start your boating life on the water!
DIY Boat Question 1: How do I Fix a Tin Boat?
Because the tin boat had been left outside for so many years, the old marine sealant had been weathered down and cracked. Ultimately, the boat was full of holes from years of use and weathering. The first step was to strip out all the old sealant with a paint scraper so that I could re-seal the holes.
NOTE: If you’re doing this, you’ll want to sand these areas afterward so the reapplied sealant will stick as best as possible.
Then, I applied 3M 5200 Marine Adhesive Sealant to all the holes and let it dry (this can be applied to various boats with holes or leaks).
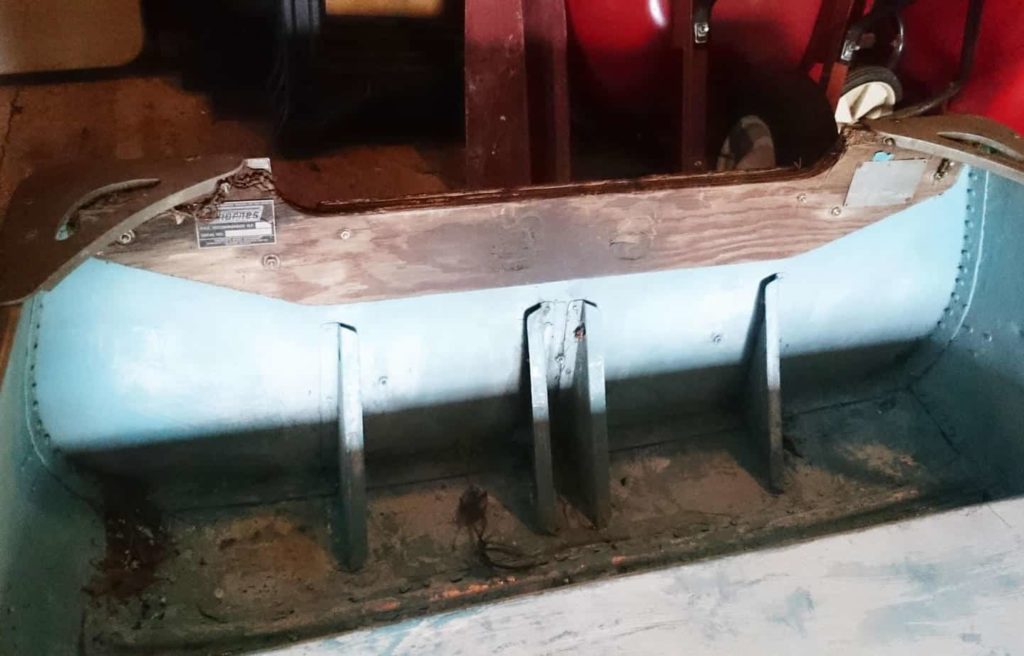
Tackling the Transom
Next, it was time to take on the boat’s transom. For those who don’t know, the transom is the stern cross-section of the boat. On a tin boat, it’s a horizontal beam that reinforces the stern of the boat and holds the outboard motor on my tin boat.
After 15 years of sitting on the ground, the old transom had rotted away and needed to be replaced.
Now, you may be thinking – that’s easy. Just cut some wood into the proper shape, and that will do it, right? Wrong.
Crafting a proper transom is almost an art form. Because normal plywood is pressure and chemical-treated, it is more susceptible to rotting from the water if you don’t seal it. There are marine-grade woods out there, too, but those will often cost you twice as much — and university debts aren’t free.
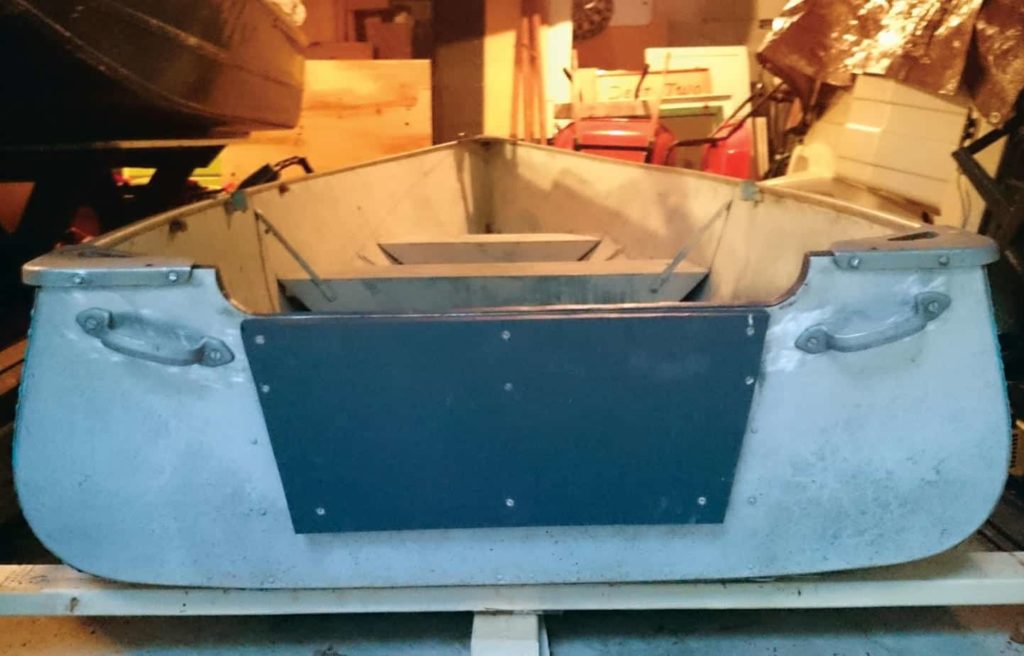
After a quick trip to Home Depot, I crafted my transom to pick up 1/2” plywood and some waterproof deck stain. After cutting the plywood, I sealed the transom pieces with two coats of waterproof deck sealant to keep water out, which worked great.
It’s been about five half-day trips so far, and the transom is holding steady!
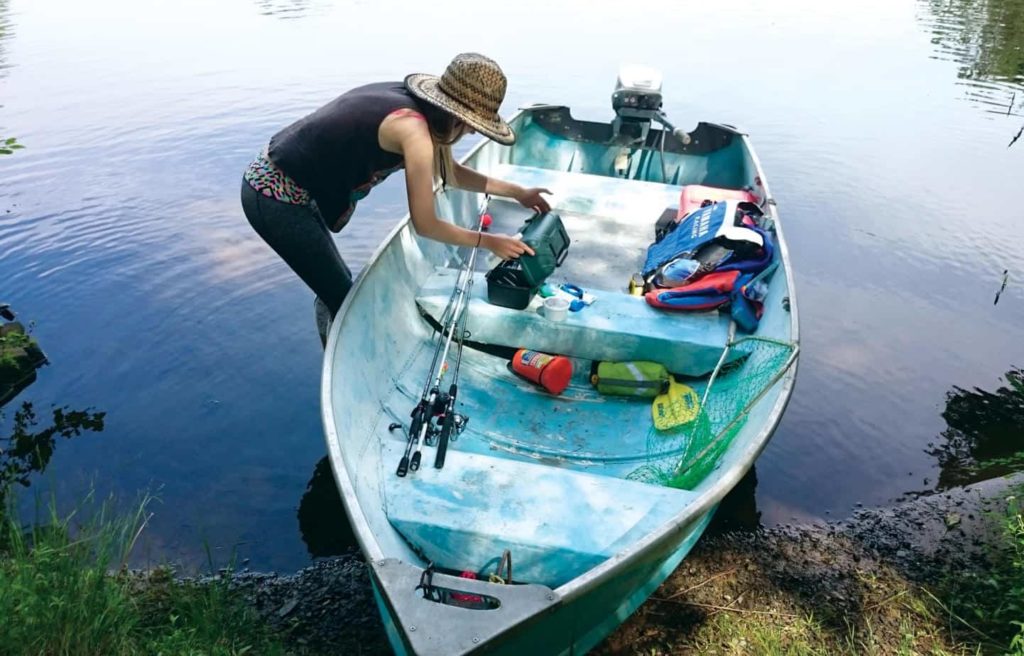
Of course, I could go into great detail about optional additions to the old tin boat that I added — things like seats, rod holders, fishing decks, fish finders, live wells, and more — but we’ll leave that for another blog.
I can tell you that the first addition I opted for was a removable fishing deck made from the leftover plywood I had. It’s quite convenient for casting and holding fishing gear. You should always keep in mind that adding extra wood to your boat makes it significantly heavier, so check your boat’s capacity plate and make sure your motor has enough juice to get you upstream.
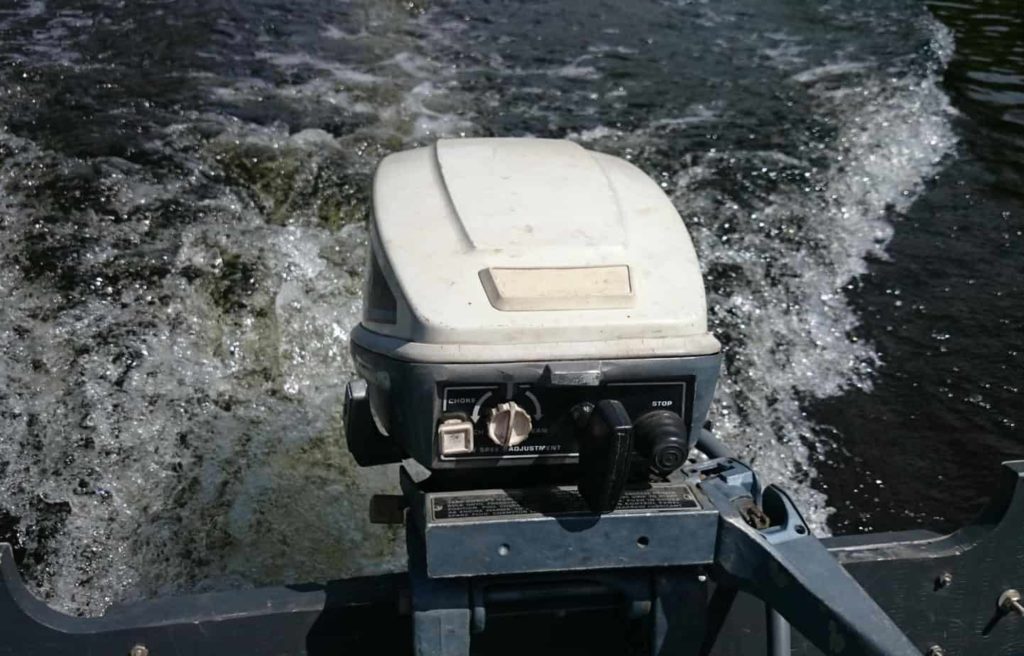
DIY Boat Question 2: How Do I Fix My Outboard Motor?
Unfortunately, I didn’t have much time to learn how to fix my outboard engine (and I’m not that mechanically inclined).
I can tell you that there are tons of small engine mechanics, outboard motor professionals, and marinas that can service your outboard motor. Usually, if your motor has been sitting for a few years, it just needs a tune-up.
Once you fix your outboard motor, a good way to keep it in good working order is to use gasoline with no ethanol. I like to use Shell High Test No Ethanol (also called Premium gas). It’s a little more expensive, but it’ll keep your motor running cleaner and longer.
DIY Boat Question 3: What Boat Safety Gear Do I Need?
To be quite honest, this wasn’t my first thought when I took on the DIY boat project — or even my second thought. After countless hours learning all the rules, though, I’ve summed it up for you quickly.
To boat safely in Canada, you are required to carry certain pieces of safety gear with you onboard at all times or risk a fine of $250 or more. The requirements vary for boat size, type, engine horsepower, etc., but I’ll touch on the average requirements.
There are four types of Boat Safety Equipment:
- Personal Safety Equipment
- Boat Safety Equipment
- Distress Equipment
- Navigation Equipment
I think it’s worthwhile to mention that although it costs a few extra dollars to gather this equipment, it is required by law, saves lives, and is used daily by boaters. Don’t take this section lightly, especially if you’re new to boating.
A Boating Safety Equipment Checklist
That being said, here’s the list of essential equipment you need on your boat.
NOTE: The list below is a general list for all boats. Not every piece of equipment will be required for your boat.
- Lifejackets and personal floatation devices: one for every person onboard
- Buoyant heaving line: at least 15m in length
- Bailing device
- A life buoy: approved by Transport Canada
- Bilge pump: either manual or electric
- Manual propelling device: usually spare paddles
- An axe: only for boats longer than 12 m
- Re-boarding equipment: if the freeboard is greater than 0.5 m
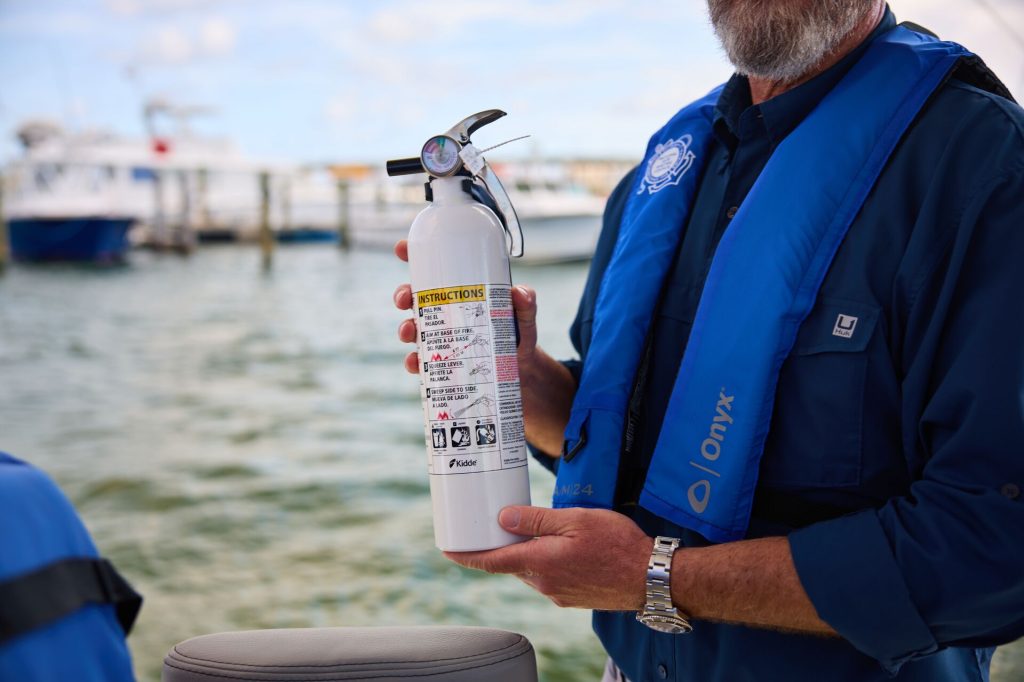
- Fire extinguisher: see the types of boats that require a fire extinguisher here
- Anchor: for boats 9 m in length or longer
- Watertight flashlight: can also be used as a navigation light in some cases
- Flares: depends on the size and type of boat
- Sound-signalling devices: must be audible for a minimum of 0.93 km.
- Navigation lights: must be displayed during certain hours of the day
- Radar reflector: check to see if your boat requires a radar reflector here
Whew! That seems like a lot. I know. But once you have it all sorted out, it’s easy to pack and keep in a gear bag.
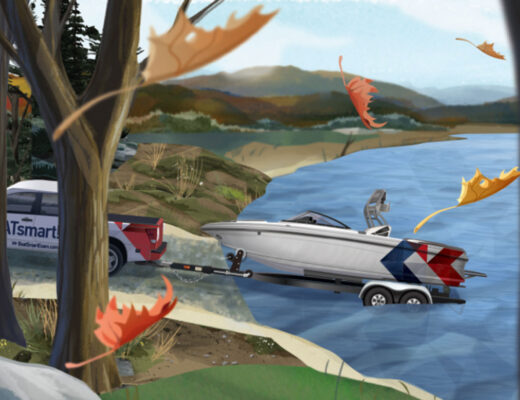
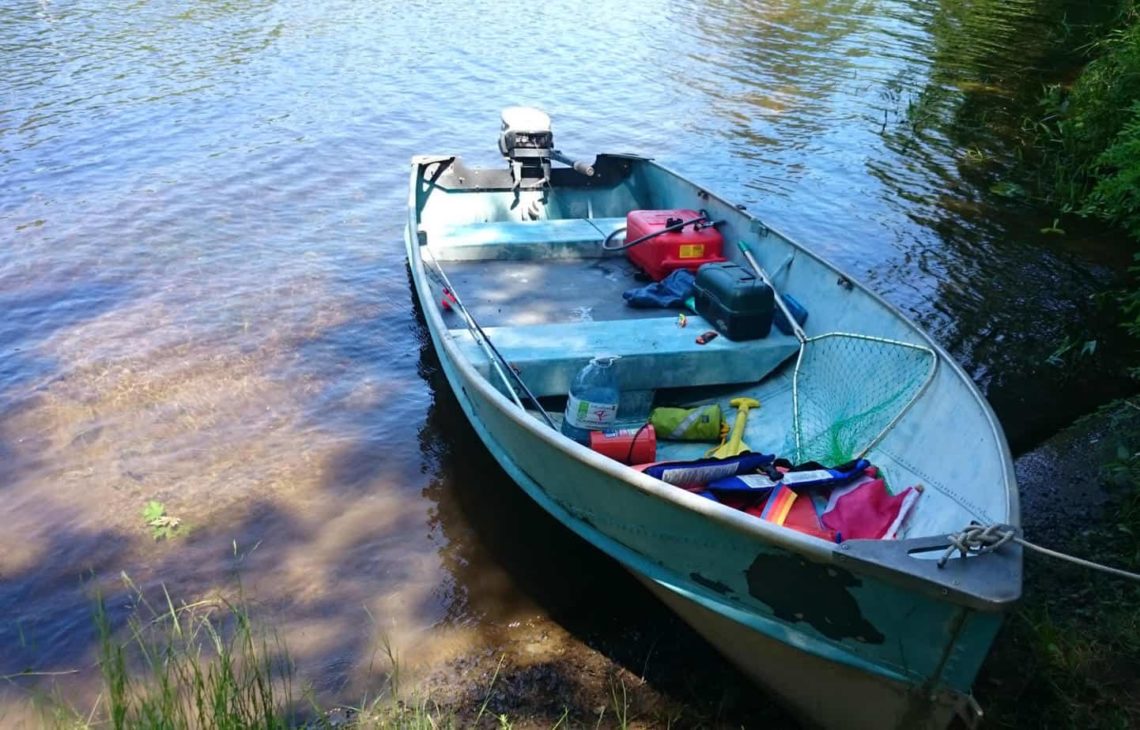
Also, you can get some of the above in combined packages. For example, you can get a 4N1 Safety Kit, which encompasses a bailing device, a sound-signalling device (a whistle), a buoyant heaving line, and a watertight flashlight. I have one, and it’s pretty handy (check out the orange bucket on the boat floor by the fishing rods in this image).
See why I said it was a lot of work? Yeah, it’s a lot to learn.
But if you’re dedicated to getting on the water, nothing will stop you. My first boat ride in my project “tinner” was so fulfilling and exciting that I would do it again every year if I had to. Now, I always look forward to packing the boat full of gear and heading out for an adventure on the water!
Before Hitting the Water in Your DIY Boat Project, Get Your Boater Safety Card
With a safe boat, you also need to be a safe boater. So, before you shove off with your newly repaired or made-from-scratch DIY boat project, make sure you’ve taken your boater safety course to get your boater safety card.
BOATsmart! makes it easy! Our fun and engaging online boating education courses cover everything you need to know about safety equipment, right-of-way, and what to do if you (or someone else) falls overboard.
So, before the maiden voyage in your new-to-you boat, take BOATsmart!’s Canada course! You’ll be prepared for safe boating adventures.
Content originally published June 2020. Content most recently reviewed for accuracy and relevancy August 21, 2024.